
Training at home is completely possible, whether for chest, legs, biceps or abdomen, no matter which training model you choose, the main rule is to take care of your posture.
This is because poor posture while exercising can cause serious problems with your spine or joints, such as your knees, for example.
Therefore, pay attention during practice and, if you feel any pain or discomfort, stop training immediately, resuming only the following day, starting with lightness and low intensity, until you get into the rhythm.
Posture care must be followed by everyone who wants to practice chest training.
Benefits of exercising your chest muscles
It is worth noting that exercising the chest muscles is recommended for everyone, regardless of gender, as performing training focused on them correctly and frequently will bring many benefits, such as:
- improved posture;
- lower rate of back pain;
- strengthening of the shoulders.
It is also worth noting that, for women, the activity carried out in this region helps tone the fatty tissue that forms the breasts, increasing support and providing greater body balance.
Exercises to train your chest at home
Before starting chest exercises, it is important to keep in mind that when doing any workout at home , without the supervision of a professional, it is essential to “take it easy” with the intensity of the exercises and perform them correctly, avoiding serious injuries.
Not everyone is physically fit, so it is advisable to start training by supporting your body weight on your knees. After continued practice, progress and increase the intensity.
Finally, it is important to make it clear that before carrying out any activity, it is extremely important to stretch .
To relax and prepare your muscles for the sequence of activities, try to warm up for around 45 seconds to 1 minute, and only then start your sequence of physical exercises.
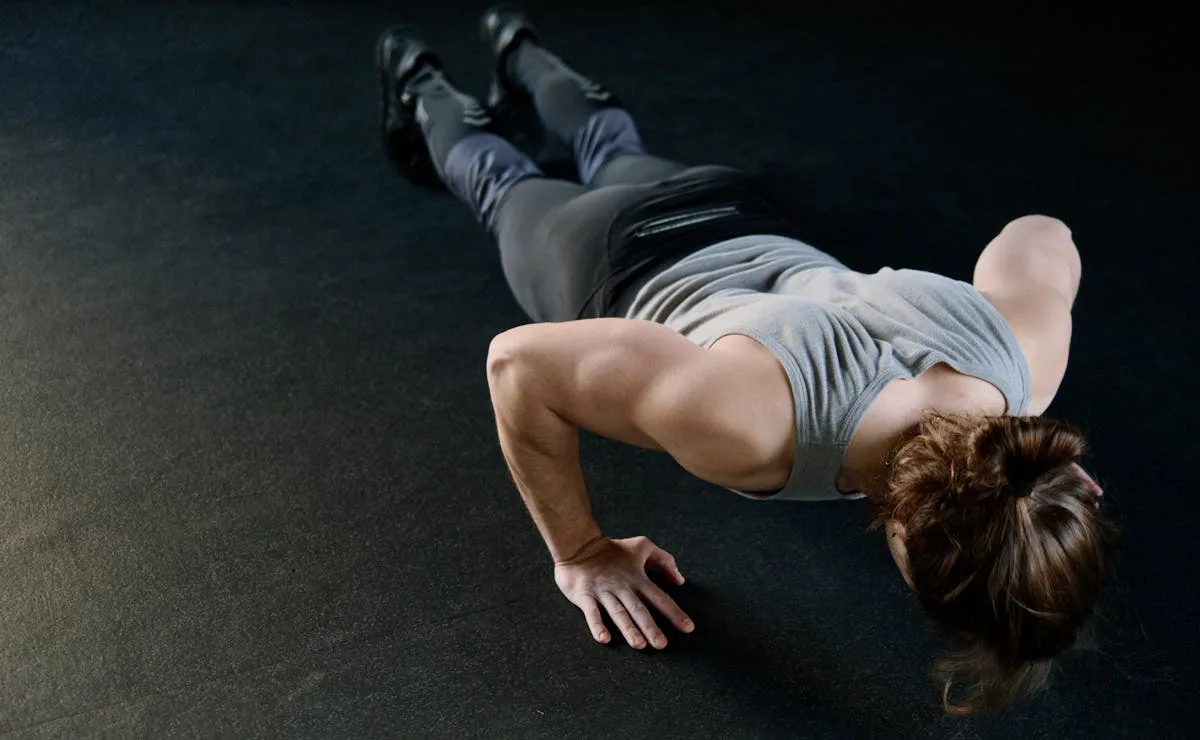
1. Amplified push-up
Start in a high plank position. Your arms should be open so that they are straight across your shoulders, which should be aligned directly above your wrists and core.
Your hands should be open and extended firmly on the floor. And finally, remember to contract your glutes.
Once the position is correct, bend your arms and lower your chest towards the floor, then push your body weight upwards through the palms of your hands, returning to the original position.
2. Diamond leg curls
The position should be the same as the previous push-up and the high plank, the difference is that in this position your knees should be touching the floor, where you should support yourself.
The legs should be open and the feet in the air, touching each other, forming a kind of triangle, or diamond.
Your shoulders should be aligned and your hands should be flat on the floor, in line with your shoulders. Try to hold your abdomen tight and take care of your spine, which should be straight and remain that way throughout the practice.
Finally, lower your chest towards the floor, flexing your arms and returning to the original position.
3. Incline push-up\
The exercise is almost the same as the previous ones, but there is a small difference, which will be explained below.
Please note that to carry out this activity, you will need the help of a bench that is heavy enough to support your weight.
Or use a bench, table, or something that provides safe support and a straight line. It is important to note that your hands should be in a line above your feet.
Therefore, the support should not be too high; it should be something that allows for a slight elevation of the limb. Remember to keep your spine straight, your arms should bend towards the support and your feet should be firmly on the floor, without moving as you move.
4. Plank with shoulder touch
Get into a push-up position with your arms below your shoulders, keeping your body in a straight line from your shoulders to your feet. For a better base of support, you can place your feet shoulder-width apart.
Maintain your balance and carefully bring one hand to the front of the opposite shoulder and touch it, then lower the same hand to the floor.
Repeat this movement alternating hands and always remember to carefully place your hand on the floor so as not to lose your balance.
5. Diamond push-up
The starting position for this exercise is very similar to the traditional push-up, except that in the diamond, the hands are close to each other.
When placing your hands on the floor, try to bring them together to form a diamond shape. This shape should be centered on your chest and should remain firm throughout the entire process of going up and down.
The emphasis of this position is on concentrating the core muscles and localized strength in the triceps.
6. Chest with explosion
Do any push-up, be it normal, diamond, asymmetrical, or other, the idea here is in the way you do it.
Climb, putting all your energy into this process, that is, climb quickly and precisely, maintaining a straight position and balance.
Then slowly lower yourself down, taking about 3 to 5 seconds to complete the full descent, until your face is inches from the ground. Then, quickly raise yourself up again, maintaining this sequence.
7. Inverted chest
The idea is the same as the inclined push-up, however, instead of resting your hands on a bench, your feet will be supported.
Your hands remain on the floor, while your feet are on the bench or any other type of support.
Remembering that it must be something firm and safe, after all, it is necessary to perform the exercise correctly, without causing any injuries.
As we mentioned earlier, try to start off easy and gradually increase the intensity with each complete workout. For example, start by doing 10 repetitions and after a few days, increase to 15, then 20, and so on.
